|
|
|
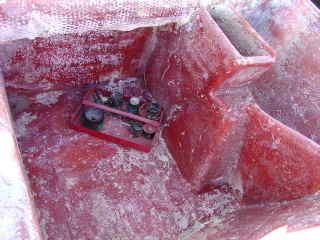
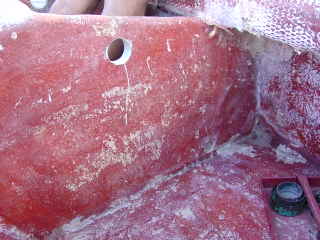
Looking down into the forward starboard corner of the swim platform with the trim tab tower in front. |
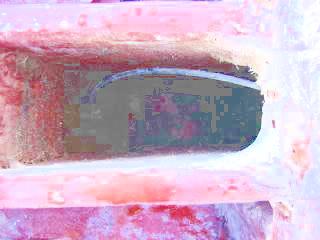
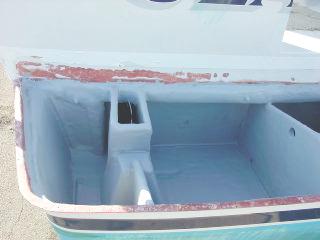
Top view of the tower. Left is aft. Right is forward. Alternate view |
The swim platform leak began in the fall of 2002 with water seeping into the area under lower shelf in the center stern between the two rudders. Using a dam of putty around the stern exit holes for the green bonding wires, it became clear that the swim platform was the source of the leak.
The problem went on record with Mainship through the dealer in the Fall just prior to expiration of the hull warranty. The boat was already winterized and covered for in water storage at this point so moving it would be difficult. Mainship issued a recall to all 350/390 owners that had leaks the following spring. That following spring, the yard was busy to start the repair work so it was completed in the fall at the end of November 2003.
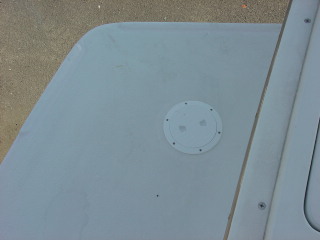
At a boat show, I spoke with a representative from Mainship and they explained that they would remove the trim around the top cover of the swim platform and open the top cover. They would remove all of the foam and install two inspection ports in the top of the platform and install a drain into the main hull and repair any leaks. They explained that the platform was shaped like a step that fit onto the stern and if that if any water were to enter the platform, it would drain into the main hull.
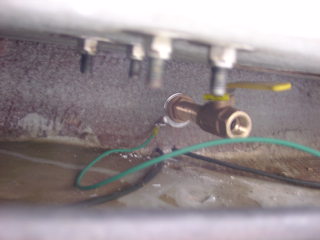
I was happy with this arrangement as I had heard that other 350/390 owners had had bilge pumps installed. I wasn't sure that I wanted another opening for a pump outlet and wires and an in accessible pump that could not be serviced in the platform. My experience is that pumps will eventually fail. The DC wires could become an electrolysis problem. I asked one person about this and they mentioned that they used a suction pump located inside the main hull. Nevertheless, the drain seemed simpler to me and it was installed with a valve to shut off the platform drain except when draining it if there was a problem.
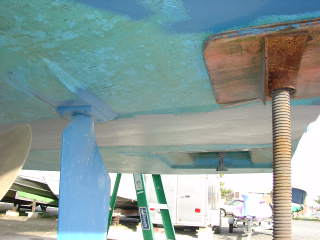
You'll see from the pictures below, additional bolts were added through the swim platform and into the stern. While I was bottom painting, I found moisture coming from between the joint between the stern and the swim platform and pointed this out. This was opened up to dry, filled, glassed over, and painted. Also during the work, the trim tabs were found to be leaking fluid and this was fixed. The trim tabs were also found to be the source of the water intrusion problem and were sealed.
Click on any picture to enlarge. These pictures were work in progress.

|

|
|
Looking down into the forward starboard corner of the swim platform with the trim tab tower in front. |
Top view of the tower. Left is aft. Right is forward. Alternate view |
|
|
|
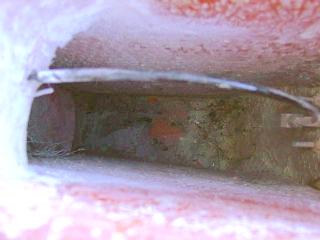
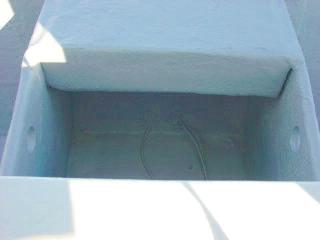
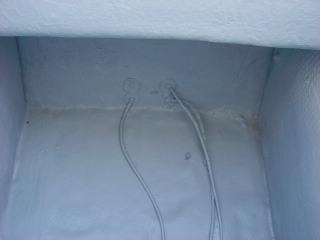
Looking down the trim tab tower at the mounting bolts and the hydraulic connection for the tab. Right is aft. |
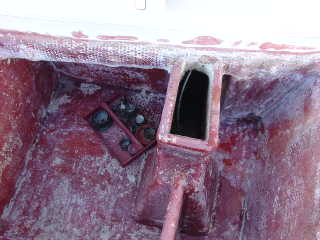
Top view of the tower. Up is forward. |
|
|
|
Upper and lower drainage holes cut through partitions.
Upper right is forward. |
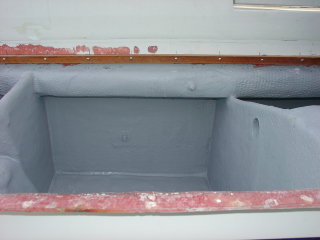
The whole interior is coated. Notice the new bolt half way down and between the tower and the partition. |
|
|
| Looking aft at the bolts for the stern hull zinc. | Closeup of the bolts for the zinc. |
|
|
|
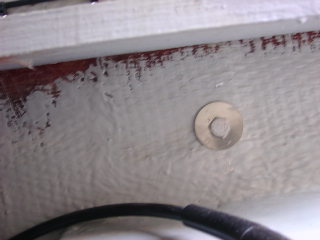
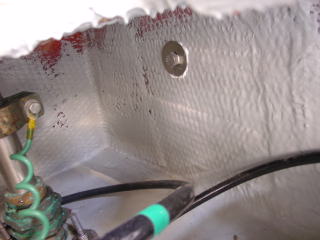
New bolts viewed from inside the main hull are just under the upper shelf. |
Another new bolt added just aft of the rudder post. |
|
|
|
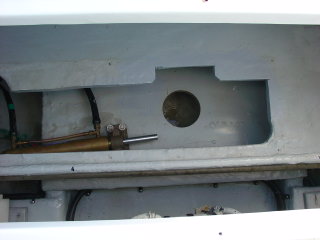
An inspection hole cut through the lower shelf as viewed through the cutout in the upper shelf. |
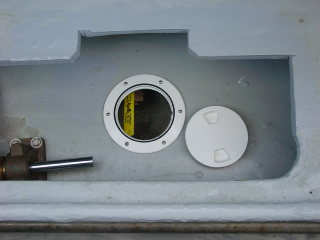
Inspection plate installed with view of valve handle. |
|
|
| View of the drainage valve under the lower shelf. | Inspection ports in the top of the swim platform. |
|
|
| The joint was faired and bottom painted. |
A wood strip was placed across the stern as a lip to support the swim platform cover now that the foam support was removed. |
The work appeared to me done in a careful professional manner and the results look good. After splashing the boat, inspections through the ports show the swim platform to be dry except for some minor condensation.
